

Hello and welcome! I have two cards for you today featuring newly released products from Spellbinders by Stampendous rom the "All the Sentiments Collection."
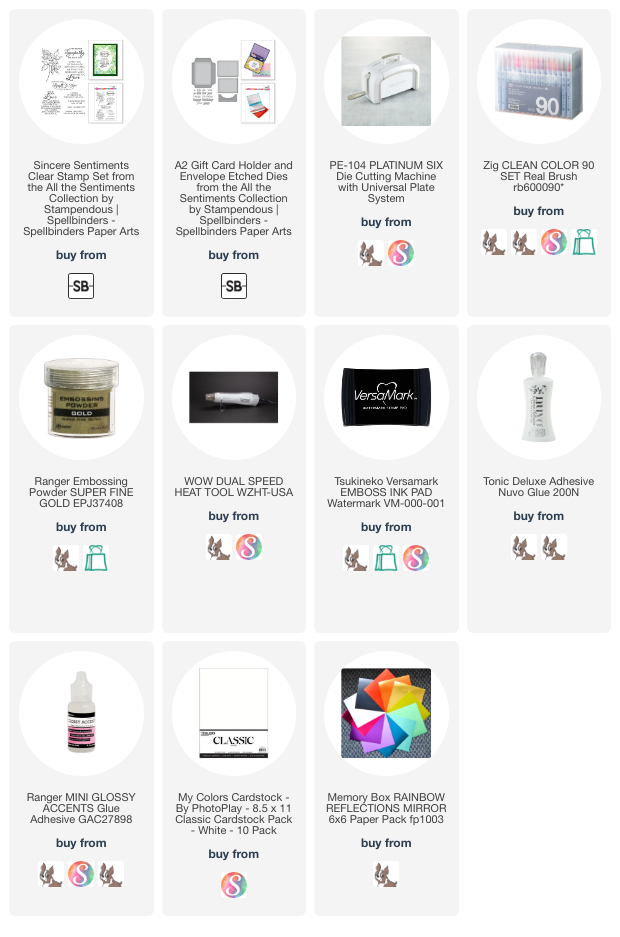
Supplies: https://ldli.co/e/kqjxnp9
First I made a sympathy card using "Sincere Sentiments Clear Stamp Set." I heat embossed the images (and sentiment) randomly around an A2 panel with gold embossing powder then colored it with Zig Clean Color markers. Here's a close up view:

I trimmed the panel down and then added it to a black panel that was cut slightly smaller than my A2 card base. I adhered both white colored and black combined panels to the card base and that's it - my finished card. Here's one last look:

Next I used the brand new "A2 Gift Card Holder and Envelope" from the same collection. Here's the front of my card with the coordinating envelope:

The "for you" die is also included in the set along with happy, birthday, your, it's, a - several words so you can combine them for different sentiments. I used patterned paper from my stash along with gold mirror paper from my stash. Here's a look at the inside:

The die also comes with the envelope die, a separate die to cut the gift card holder and two rounded rectangles for layering and covering the edges of the center gift card holder. You can see I used the "Happy Birthday" sentiment on the inside. To help the white letters adhere to the gold mirror paper, I used Glossy Accents - it works much better on mirror paper than regular glue.

The die also comes with the envelope die, a separate die to cut the gift card holder and two rounded rectangles for layering and covering the edges of the center gift card holder. You can see I used the "Happy Birthday" sentiment on the inside. To help the white letters adhere to the gold mirror paper, I used Glossy Accents - it works much better on mirror paper than regular glue.
Here's one last look:


I hope you like my cards for today, I had a lot of fun creating them. Feel free to use my affiliate links if you are interested in any of the products I used at no extra cost to you. It helps compensate me for my designs and work to inspire your creations! Thanks so much for stopping by!
No comments:
Post a Comment