
Hello and welcome! I am up on the Memory Box blog today and I have a fun torn technique card for you today featuring the new beautiful "Perfect Poinsettia 3D Embossing Folder" that also comes with dies.
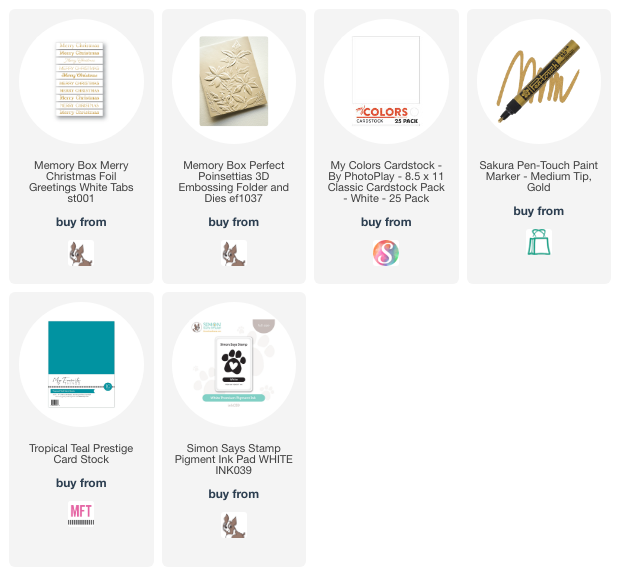
Supplies: https://ldli.co/e/zr09lxm
COMPLETE INSTRUCTIONS ARE IN A LIST AT THE BOTTOM OF THE POST.
Here's pictures along with text instructions:
I didn't use the dies on this card but plan too for another card. Here's a closer look at the card:
I dry embossed both a teal and two white A2 panels and then on the teal one, I lightly tapped white ink on the raised areas. Here's a super close look:
Next I tore the top and bottom edges off the teal one and frayed the edges a little for a more distressed look. I glued the teal one to the white one and then tore the top along the same angle. Next I added s little teal ink on the white torn edge. I didn't want the bottom white edge torn so I cut it higher than the teal one so you cannot see that layer peeking on the bottom below the teal one. If you like you can do the same tearing and inking technique to the bottom edge.
Next I glued the other white panel to the card front and then lined up the torn part so it was seamless despite the color difference. I added gold paint pen to the flower centers and around the teal panel. To finish it, I added a white sentiment tab and then rounded some of the corners of my finished card. Here's one last look:
I hope you like my card for today! It's a simple technique and a great way to stretch the looks you can get from an embossing folder. Thanks for stopping by and see you next time!
Card #3
You should have
1 heavyweight card base folded
2 white full card size panels to emboss
1 blue/teal full size card panel
1 black white sentiment tab
- Lightly spray blue/teal and other 2 white panels and dry emboss them
- On embossed (raised) side, pounce the white ink pad lightly on the flowers
- Let white ink dry
- Add one of the white embossed panels to the card base
- Tear the blue/teal panel on top and on bottom
- If you’d like that extra layer of torn on top, glue blue to extra white embossed panel lining it up with the blue one, then tear (This step is optional)
- Adhere blue panel to card base, lining up the embossed images
- Add gold paint pen to flower centers
- Add white sentiment strip
- Use corner rounder to round any corners you’d like to
Beautiful and very clever technique.
ReplyDeleteAngie, this is an amazing card! Love the way you put it together.
ReplyDeleteWhat a lovely card - very unique.
ReplyDelete