Hello and welcome! I'm so excited to share this fun mini slimline card made with Photoplay Paper "Say it With Stamps” stamps, dies and papers!
For my card today, I am featuring the "Cute as a Bug" stamp and die set along with the "Stitched Framed Tag Die" the "#6 Circle Windows Die" set and the 6" X 6" "Pastel Paper Pad." All my supplies are linked below if you are interested in them.
Here's a closer look at my card:
Here are the first few steps to make this cute bug card:
1) First I cut up strips of the "Pastel Paper Pad" to use for a background panel.2) I adhered the strips diagonally, alternating the colors, on a 3.5" X 6.5" piece of white card stock
3) After I finished adding the strips, I cut the excess off of the edges
4) Next I took that panel and cut it with the the "#6 Circle Windows Die" set, I also cut one of the window dies from black card because I needed eight black circles for my bug spotlights.
6) I layered the white tag and black circles then added them to the panel on top of the 8 windows
7) Next I stamped the images from the "Cute as a Bug" stamp set in black ink and heat embossed them with clear embossing powder
8) I used pastel alcohol markers and a white gel pen to color the images in rainbow colors and then arranged them on my window panel
9) Some of the images were glued directly to the black circles and others were popped up on foam tape.
10) Since the windows die is 3.5" by 6.25", I cut a black panel just 1/4 inch bigger (3.75" by 6.5") and then cut a white card base 1/4 inch bigger than that. The card base was 8" by 6.75" scored at 4" on the 8" side, then folded in half.
11). Lastly I heat embossed the sentiment in black on white card stock and added a little black mat to it before popping it up on foam tape.
Here's one last look at my card:

I hope you enjoyed my card for today. I'm so happy to be bringing you inspiration from the amazing stamps, dies, stencils and papers from Photoplay Paper Say it with Stamps. I will see you next time with another project made with SIS fun goodies! If you are interested in any supplies I used, they are linked below at no extra cost to you. Thanks so much for stopping by!
 SIS Circle Windows Dies Shop at: SSS | SC |
 SIS Pastel Dots & Stripes Shop at: SSS |
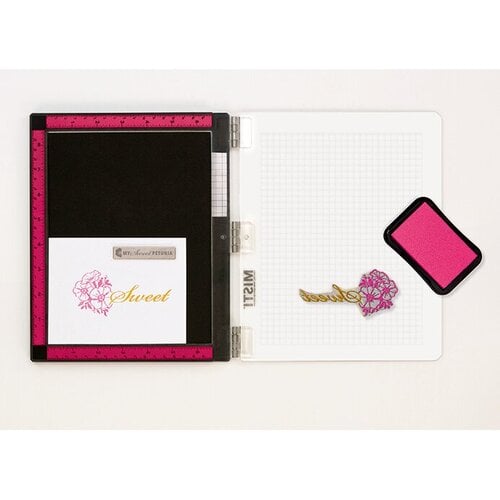
 Misti Stamping Tool Shop at: SSS |
 SIS Stitched Frames Shop at: MC |
 Fiskars 9" Trimmer Shop at: SC |
 WW thin Foam Tape Shop at: SC |
 Ohuhu Pastel Markers Shop at: OH |
 SSS Assorted Cardstock Shop at: SSS |
 Sakura #10 White Gel Pen Shop at: SSS |
 TH Glass Media Mat Shop at: SSS |
 Nuvo Deluxe Glue Shop at: SSS |
 Heat Tool Shop at: SSS | SC |
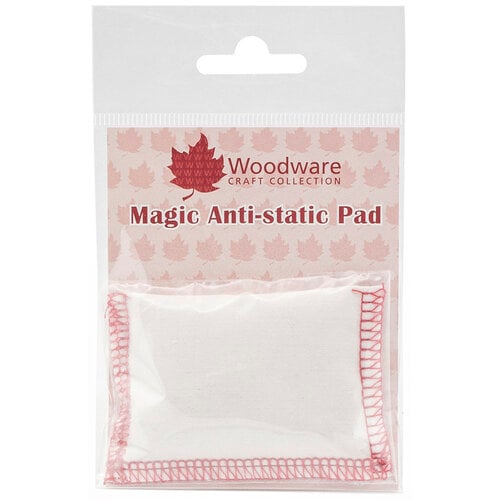
 CE Anti Static Pad Shop at: SC |
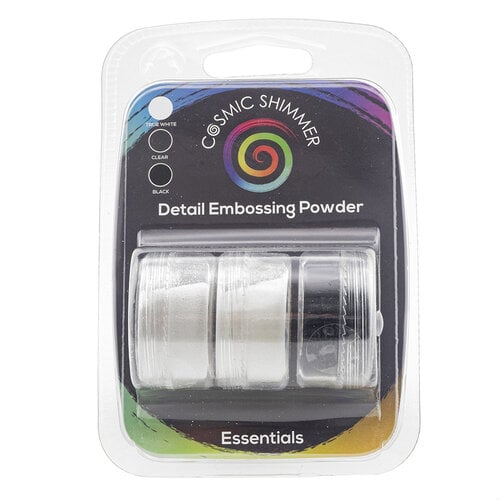
 CS EP Trio Shop at: SC |
 Spellbinders Platinum Shop at: SSS | SC |


No comments:
Post a Comment