Hello and welcome! I have 2 cards for you today featuring the newly release Painted Daisy and Ladybugs from Spellbinders.
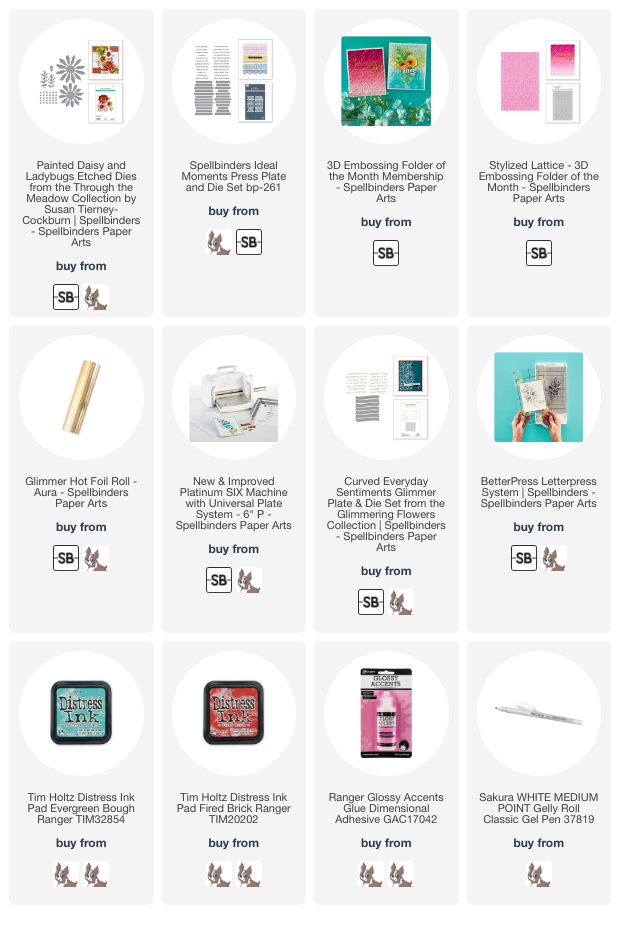
Supplies: https://ldli.co/e/xl0xrej
Here's a close look at the red version:

For this card I used the January 3D Embosing Folder of the Month for the background. The flowers were cut from watercolored card stock that was painted and smooshed with watercolors. Once cut out, I added lot of Distress Ink Fire Brick Ink to the flower petals, then added white gel pen them. The branch dies were cut from watercolor paper painted with Evergreen Bough Distres Ink. I inked the edges of the dry embossed panel and added marker to the flower center, then the watercolored star die cuts and the covered the center with Glossy Accents.
The sentiment is from the Ideal Moments Press Plate and Die Set, matted to a strip of red inked card stock. Lastly I added white gel pen to the flower and leaves.
Here's one last look at this card:

Okay, now lets look at card #2.

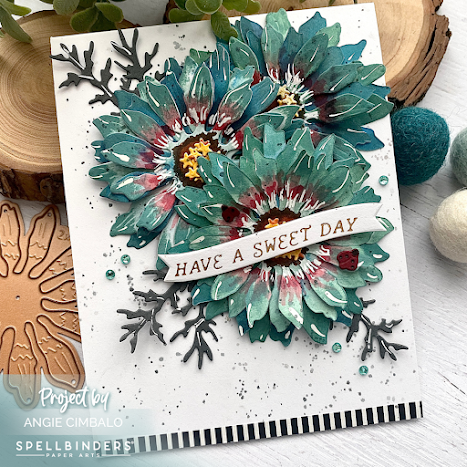
These flowers were made the same way, with watercolor paper, Distress inks, white gel pen, etc.

Okay, now lets look at card #2.

These flowers were made the same way, with watercolor paper, Distress inks, white gel pen, etc.
The difference is I used a plain white card base to mount them on, some with glue, some with foam tape. Also I splattered the card front with black ink and added the small striped panel at the bottom to anchor the card. I didn't use any Glossy Accents on this one and the sentiment is from the Curved Everyday Sentiments Glimmer Plate and Die Set.
Here's one last look at the turquoise version:
And one last look at them side by side:
I hope you like my cards for today, I had a lot of fun creating them. Please check out all the new release items from Spellbinders this month, so many gorgeous products!
Thanks for stopping by! I have affiliate links below at no extra cost to you.
Happy crafting my friends!


Love your cards with those pretty Painted Daisies. Love the colors of each card and your layout on each one. TFS
ReplyDelete