Hello and welcome, it's Angie here today with a card featuring 2 of the newest stencils from the holiday releases.
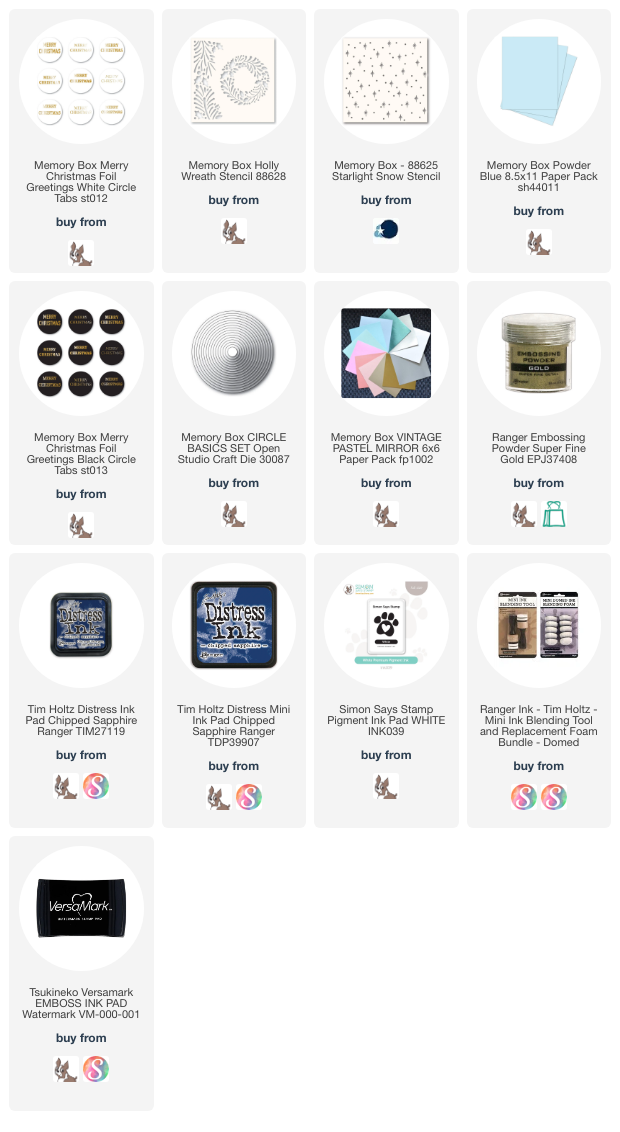
Supplies: https://ldli.co/e/nq71lep
First I gathered my supplies for the card, and then I took the
- Using the holly stencil on the light blue card stock panel with long part of stencil, in blend dark blue with a ink blending tool. (Faded Jeans or Chipped Sapphire - Distress OR Distress Oxide)
- Using a heat tool, dry the ink really good
- Now move the stencil up and to the right every so slightly (like 1/8” or less) and ink with white pigment ink. Make sure you don’t use too much white ink or it will pool up in edges of leaves. If you want more white ink, you will need to dry it in between layers and just add more white. Dry your panel good.
- Using the starlight stencil add versamark ink with ink blender through the stencil
- Add gold embossing powder and heat emboss
- Add panels to the card - blue on the left and white with gold stars on the right
- Glue the gold strip in between the two panels (on top of them or however you like)
- Glue the circles together toward the left of each circle for a interesting look
It's a realy cool look when you move the stencil over and go over the dark ink with white - it actually looks like it's 3D embossed! I hope you will give this stencil technique a try - it's so fun. Thanks so much for stopping by!


No comments:
Post a Comment