Hello and welcome, I'm up on the Memory Box blog today with two Christmas cards featuring the new Winter Tree Arch die along with lots of other dies from the newest 2023 Christmas release.
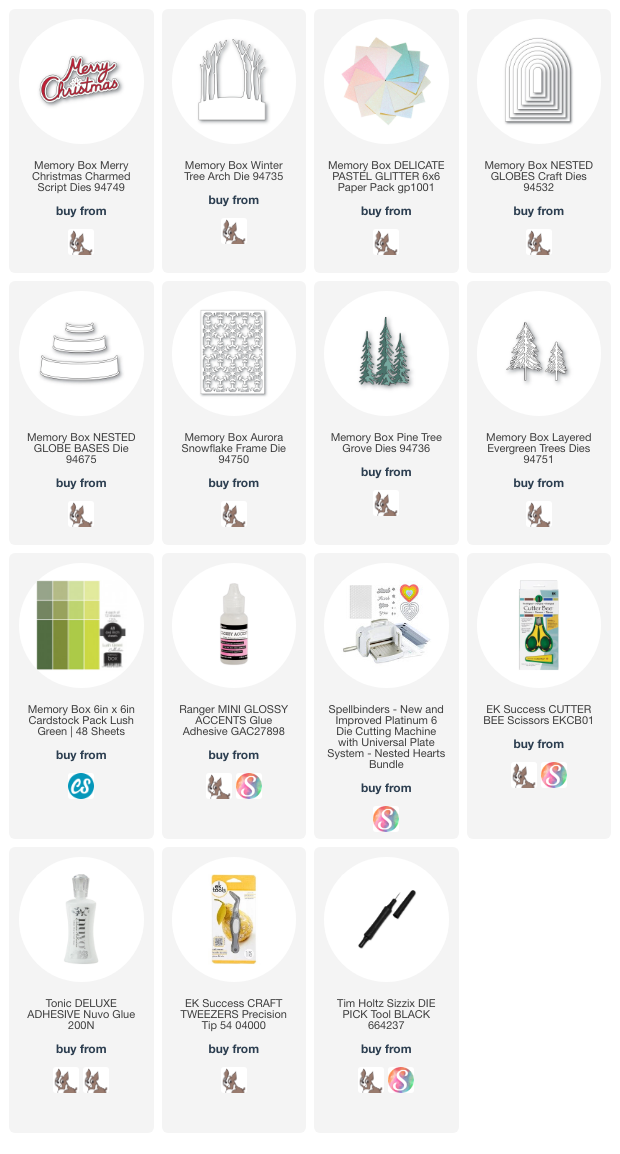
Supplies: https://ldli.co/e/e2pg27x
Here's a closer look at my first card:
As you can see I used Delicate Pastel Glitter pad paper to cut the tree arch die along with the Merry Christmas Charmed Script and the Aurora Snowflake Frame die, all new dies from the release. I took a piece of white cardstock and added lots of Distress Inks in shades of reds and then used the Nested Globes die set (3rd largest in the set) to cut out the red background for my glitter trees. I also inked an extra piece of the red so I could cut the sentiment from it too.
You can see that I pieced the two sentiment dies, red and glitter together. Now I had two sentiments to chose from, either glitter outline and red inside, or the opposite. I chose the glitter outline with the red insert letters. I'm saving the other one for another project.
I glued the frame glitter die to the card front and then the trees to the red globe. Next I added the globe to the card front. I cut the Layered Evergreen Trees dies from 2 colors of green cardstock from the Lush Green paper pad and glued them together then added them to the card front. I added the sentiment right on top of everything.
One tip I have for liquid glue on the glitter paper is to use Glossy Accents if you need to adhere something to the glitter side. It works much better than regular liquid glue and dries stronger too.
One other tip for cutting intricate dies from the glitter pad papers is to run it through your die cutting machines several times. The glitter paper is very sturdy and thick. Running it through multiple times will really help it cut perfectly.
Here's one last look:
Now on to card #2:
For card number two, I cut a Nested Globe from glitter paper to put behind my die cut white tree arch. I cut the size arch that was slightly smaller than the tree arch because I wanted the branches to hang over into the card base's white space. I added the tree arch to the globe piece, then cut Pine Tree Grove dies from the same two colors of green card stock. After putting them together I added them to the globe. Here's a close up look:
I cut the globe bottom with the Nested Globe base die set, using the largest of those dies. Each base has the main piece plus two thin edges you add on top of the base. I cut all that from kraft cardstock and added red inks to the two thin edges before adding them to the globe base. I added the globe base to the globe and took the left over Merry Christmas Charmed Script die and added it toward the bottom of the globe. To finish my card I added a few small snowflake embellishments from my stash, 3 on the globe top and six across the base. Here's one last look:
I hope you like my cards for today and I've inspired you with these designs. Be sure to come back every day to see the lovely inspiration from the design team. Thanks so much for stopping by and happy creating!


Two beautiful cards Angie.
ReplyDelete